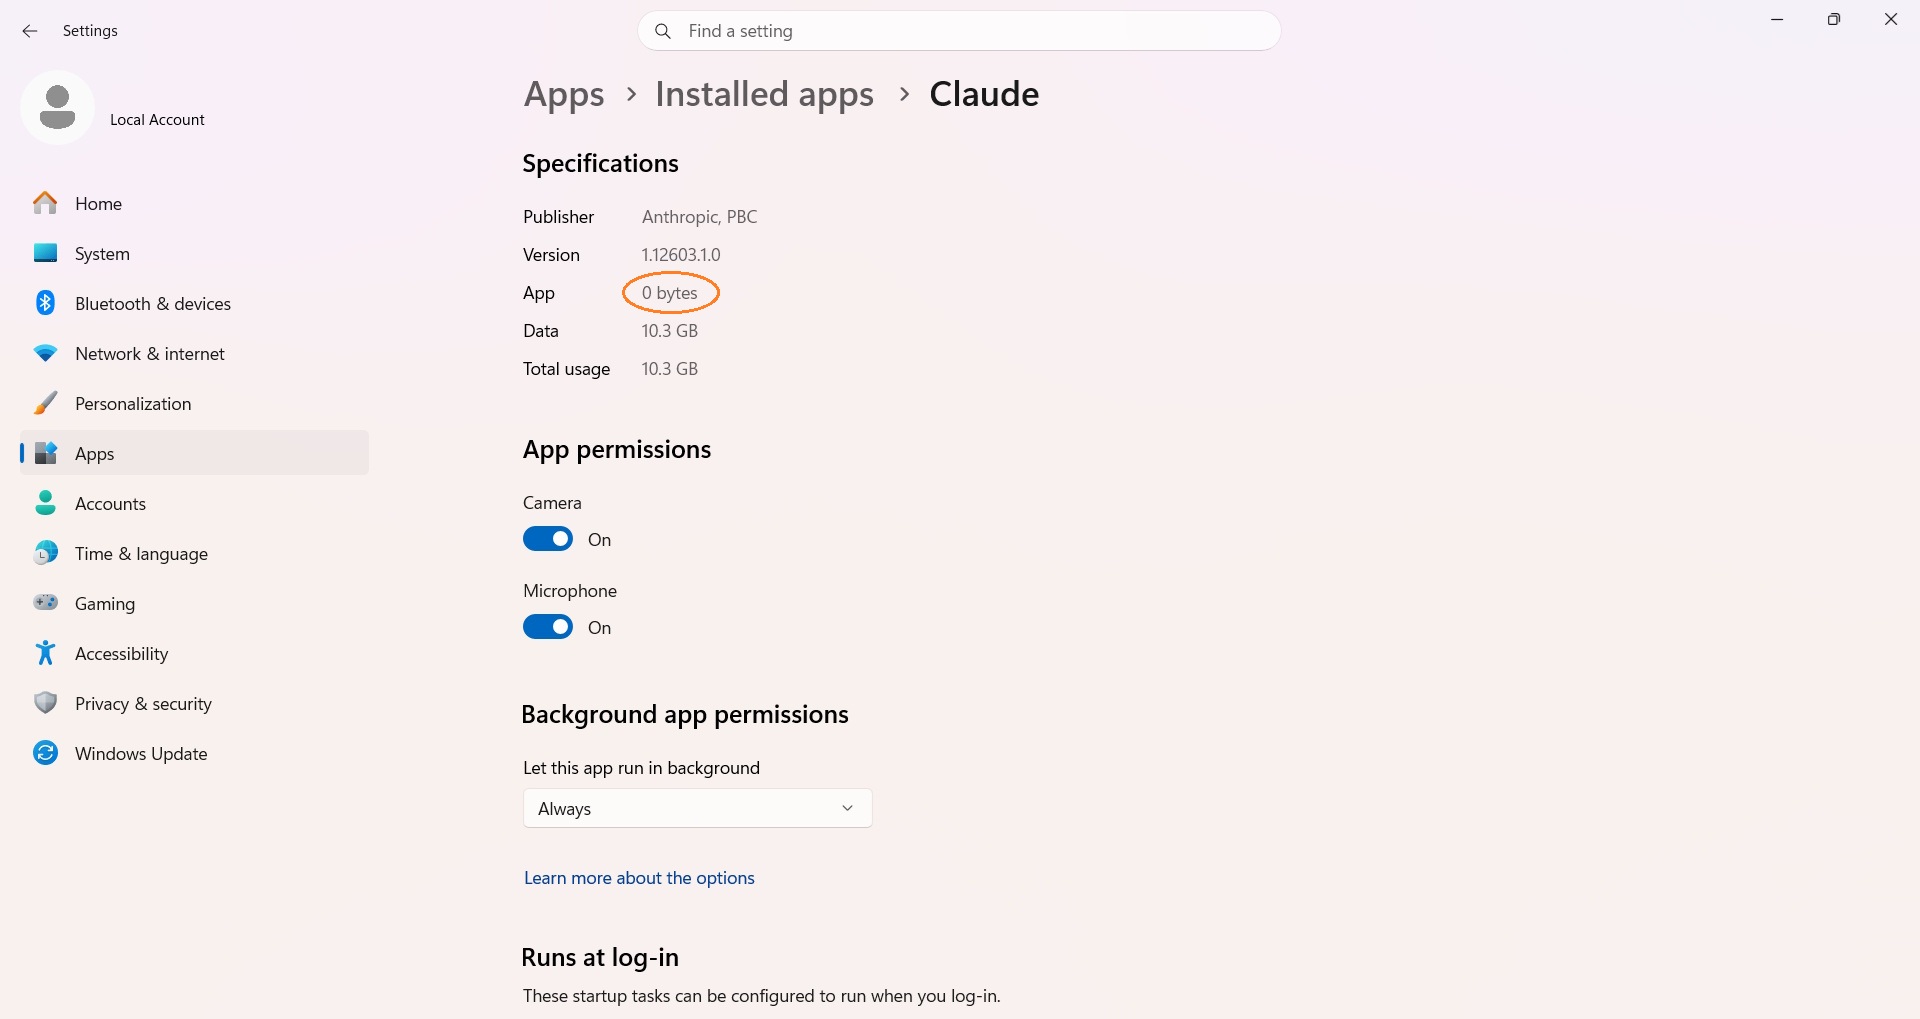
A practical guide to a configuration gap that has affected many users — and that Anthropic's official documentation does not yet address clearly.
claude_desktop_config.json, and found their servers were not loading — with no error or explanation from the app.
There are three ways to add MCP servers to Claude Desktop on Windows. Two involve editing a JSON config file — and the path to that file differs depending on which installer you used. The third skips JSON entirely but limits you to Anthropic's official connector catalog. The flowchart below maps out all three options at a glance.
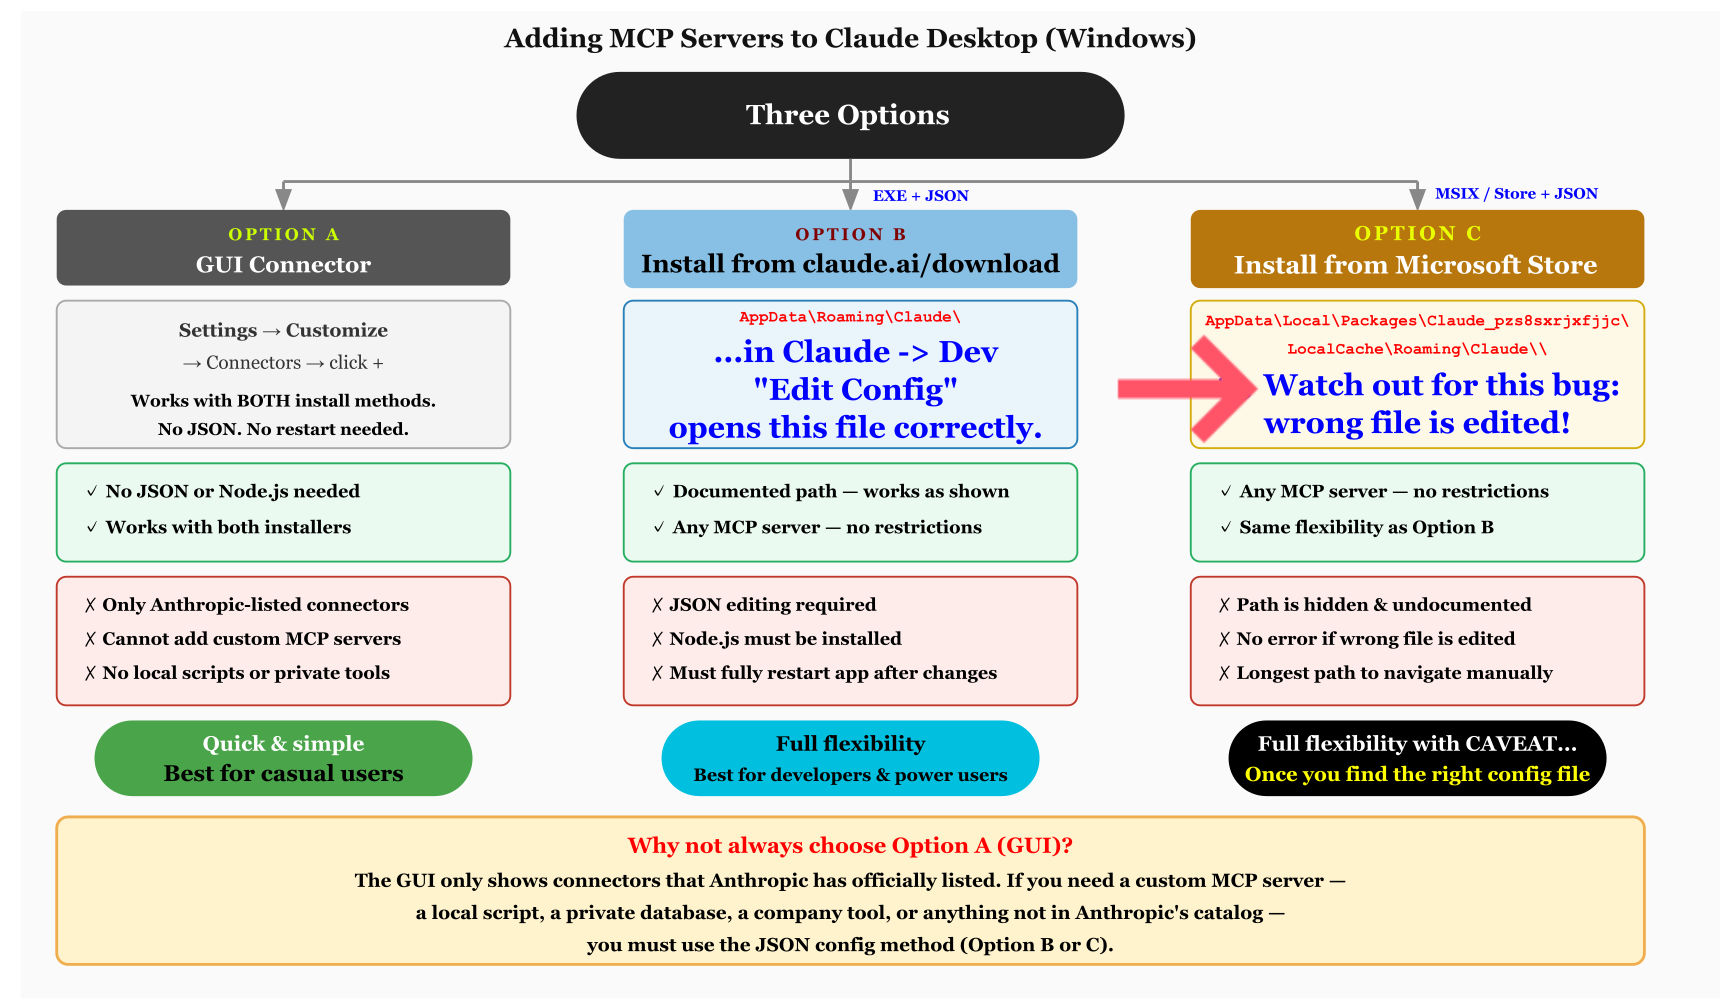
Fig. 1 — Three ways to add MCP servers on Windows. Option C is fully functional once you know which config file to edit.
This is not an isolated issue. Multiple bug reports filed against Anthropic's GitHub repositories describe the same experience: MCP servers configured in claude_desktop_config.json do not load after restart, and Claude's Developer settings page shows "No servers added" — with no error message and no indication of what went wrong.
The technical cause is straightforward. MSIX packaging applies Windows filesystem virtualization, which transparently redirects the app's read and write operations to a different path. The app's built-in "Edit Config" shortcut and all of Anthropic's current documentation reference the non-virtualized AppData\Roaming path. That path exists and is editable, but the MSIX version of Claude Desktop never reads from it.
Definitive check via PowerShell:
Get-AppxPackage -Name "*Claude*" — a result means MSIX; no result means standalone EXE.
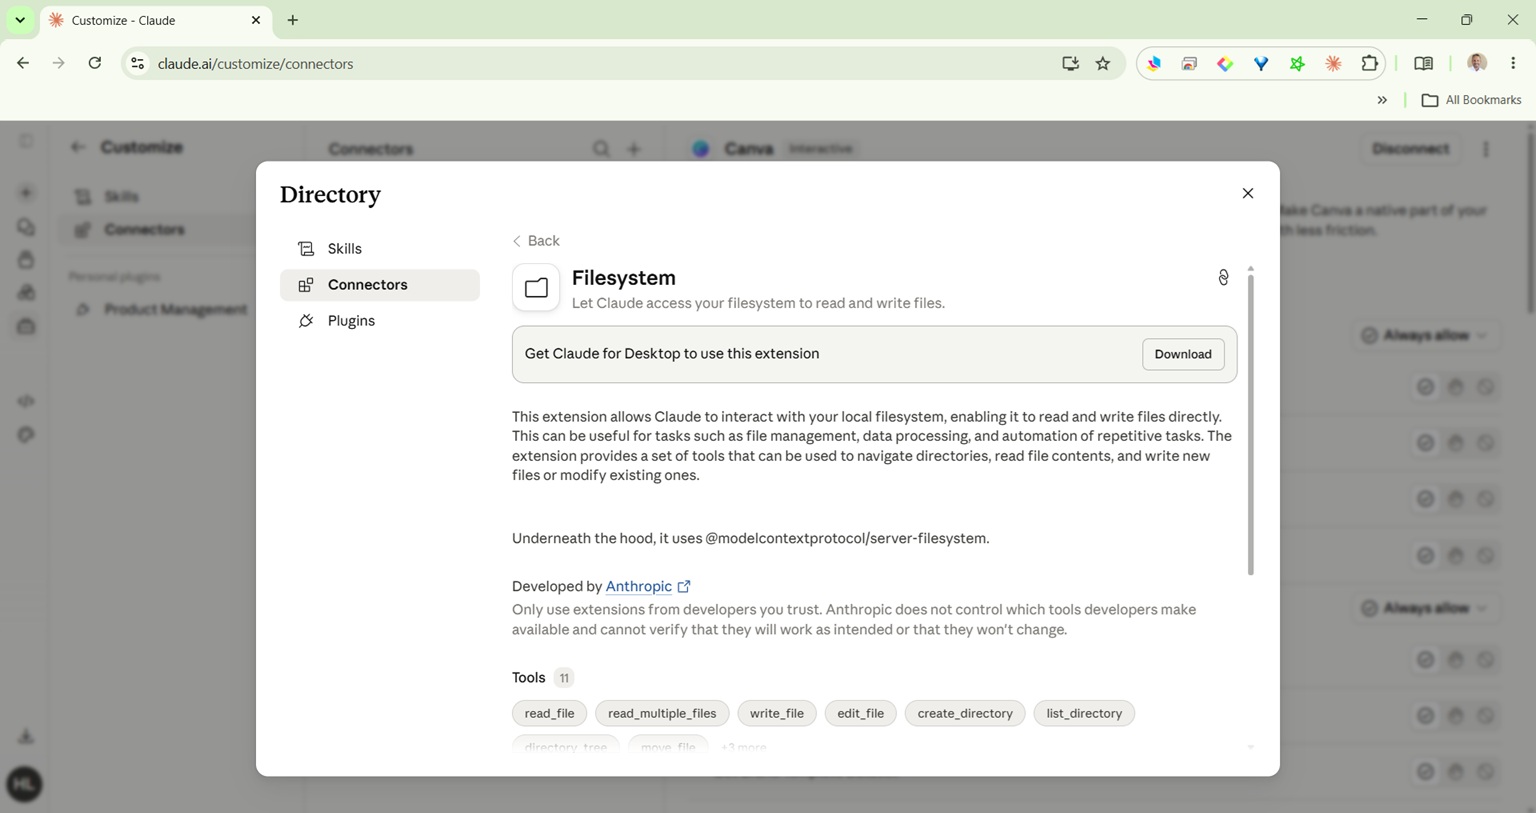
Prefer a point-and-click approach? Option A (GUI connector) takes about 30 seconds — no JSON file, no Node.js, no restart. The catch is that you're limited to connectors Anthropic has officially approved.
If the flowchart confirmed you are on the MSIX install, follow these three steps.
Open File Explorer. First enable hidden items: View → Show → Hidden items. Then navigate to:
C:\Users\[YourUsername]\AppData\Local\Packages\Claude_pzs8sxrjxfjjc\LocalCache\Roaming\Claude\
Open claude_desktop_config.json in any text editor and add your MCP server configuration. Working example for the Filesystem server:
{
  "mcpServers": {
    "filesystem": {
      "command": "C:\\Program Files\\nodejs\\npx.cmd",
      "args": [
        "-y",
        "@modelcontextprotocol/server-filesystem",
        "C:\\CODE",
        "C:\\Users\\[YourUsername]",
        "C:\\YourOtherFolder"
      ]
    }
  }
}
Note: Folder paths are passed as plain positional arguments after the package name. Do not use a --allowed-directories flag — it is not valid syntax for this package.
Closing the window is not enough. Right-click the Claude icon in the system tray, choose Quit, then reopen. The config file is only read at startup.
Prefer the Standalone EXE (Option B)? Uninstall the MSIX version and download the standalone EXE from claude.ai/download. With that version, the "Edit Config" button opens the correct file and everything works exactly as documented by Anthropic.
The following GitHub issues and technical posts independently document the same configuration discrepancy:
Written by Harding Leite · callgenix.com · MCP Weekend Pet Project Series